TheShed__PartII
Demolition
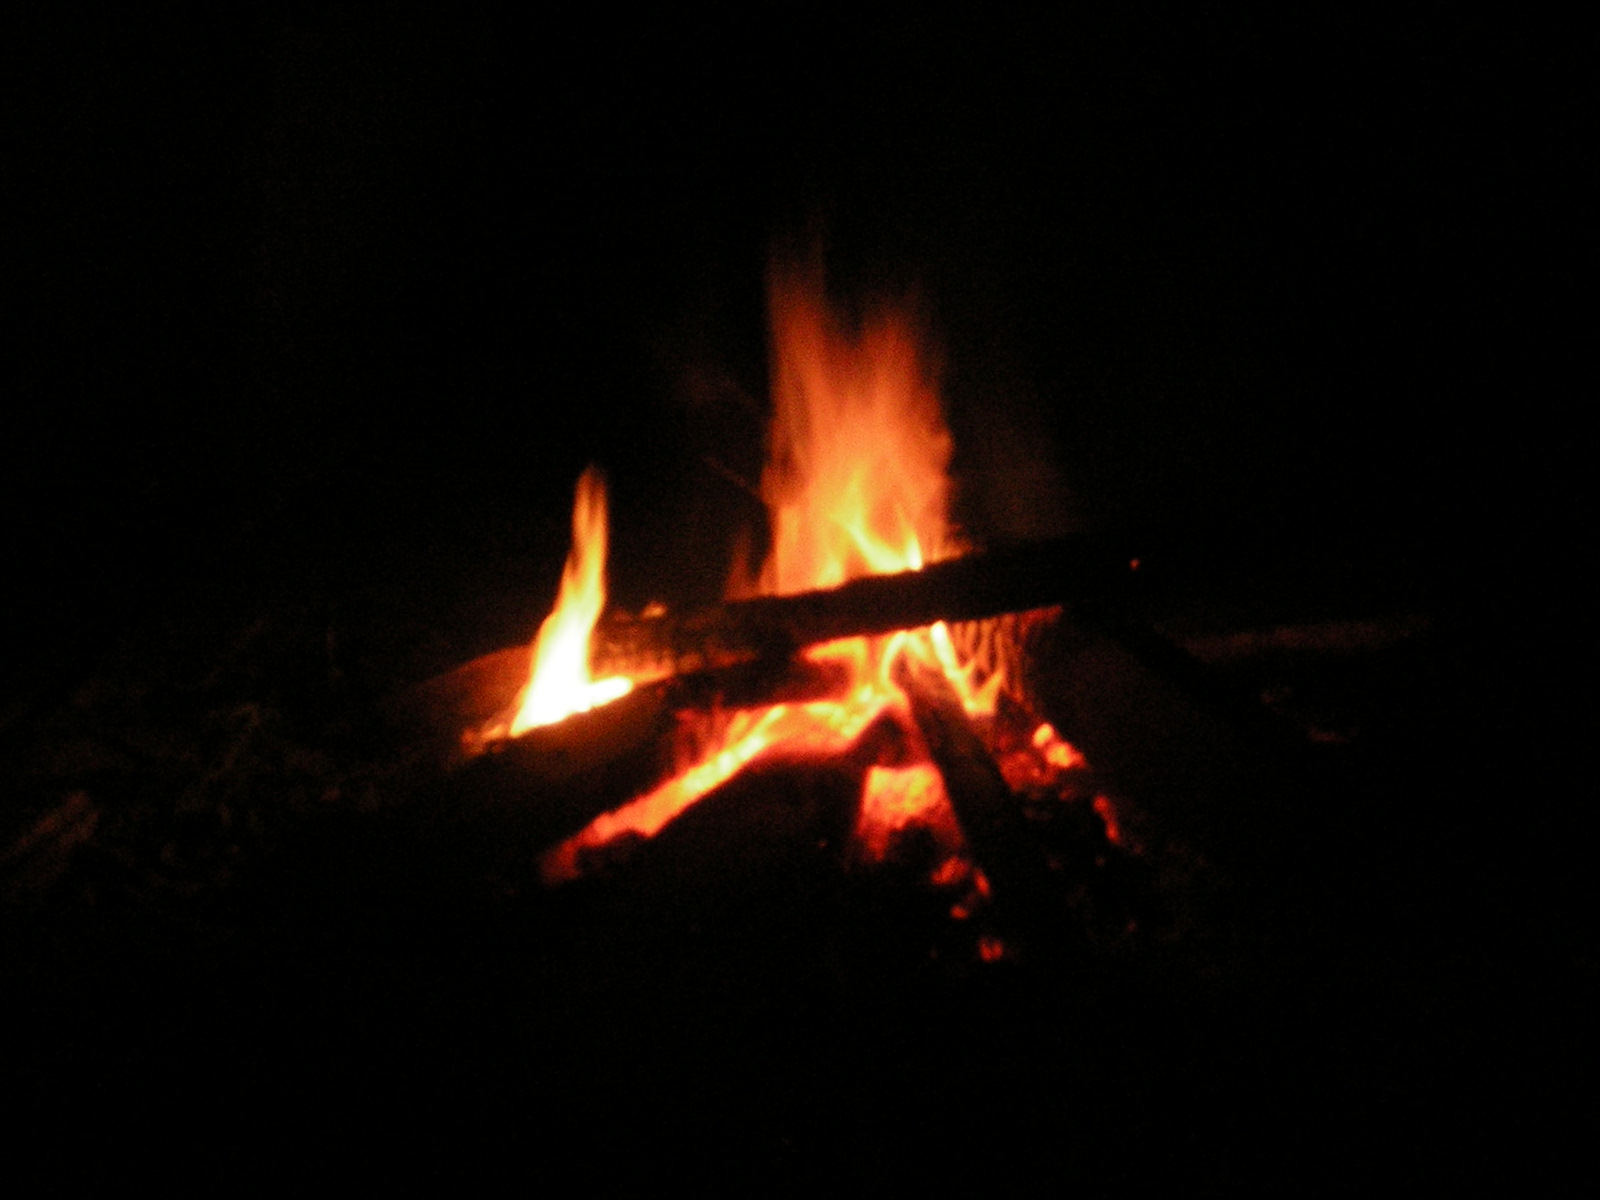
Removing the old shed took ages, mostly because we had to carefully take off the roof panels, while still standing on them, or the very wobbly supporting rafters, then strip out all the rockwool lining (boy does that stuff make you itch!) before we could properly enjoy the task of hacking down the walls with a crowbar and big hammers :) In the end we filled 2 skips (of 4 yards each), and had some left over to burn - ahhh the smell of woodsmoke in the evening!
Construction
Day 1
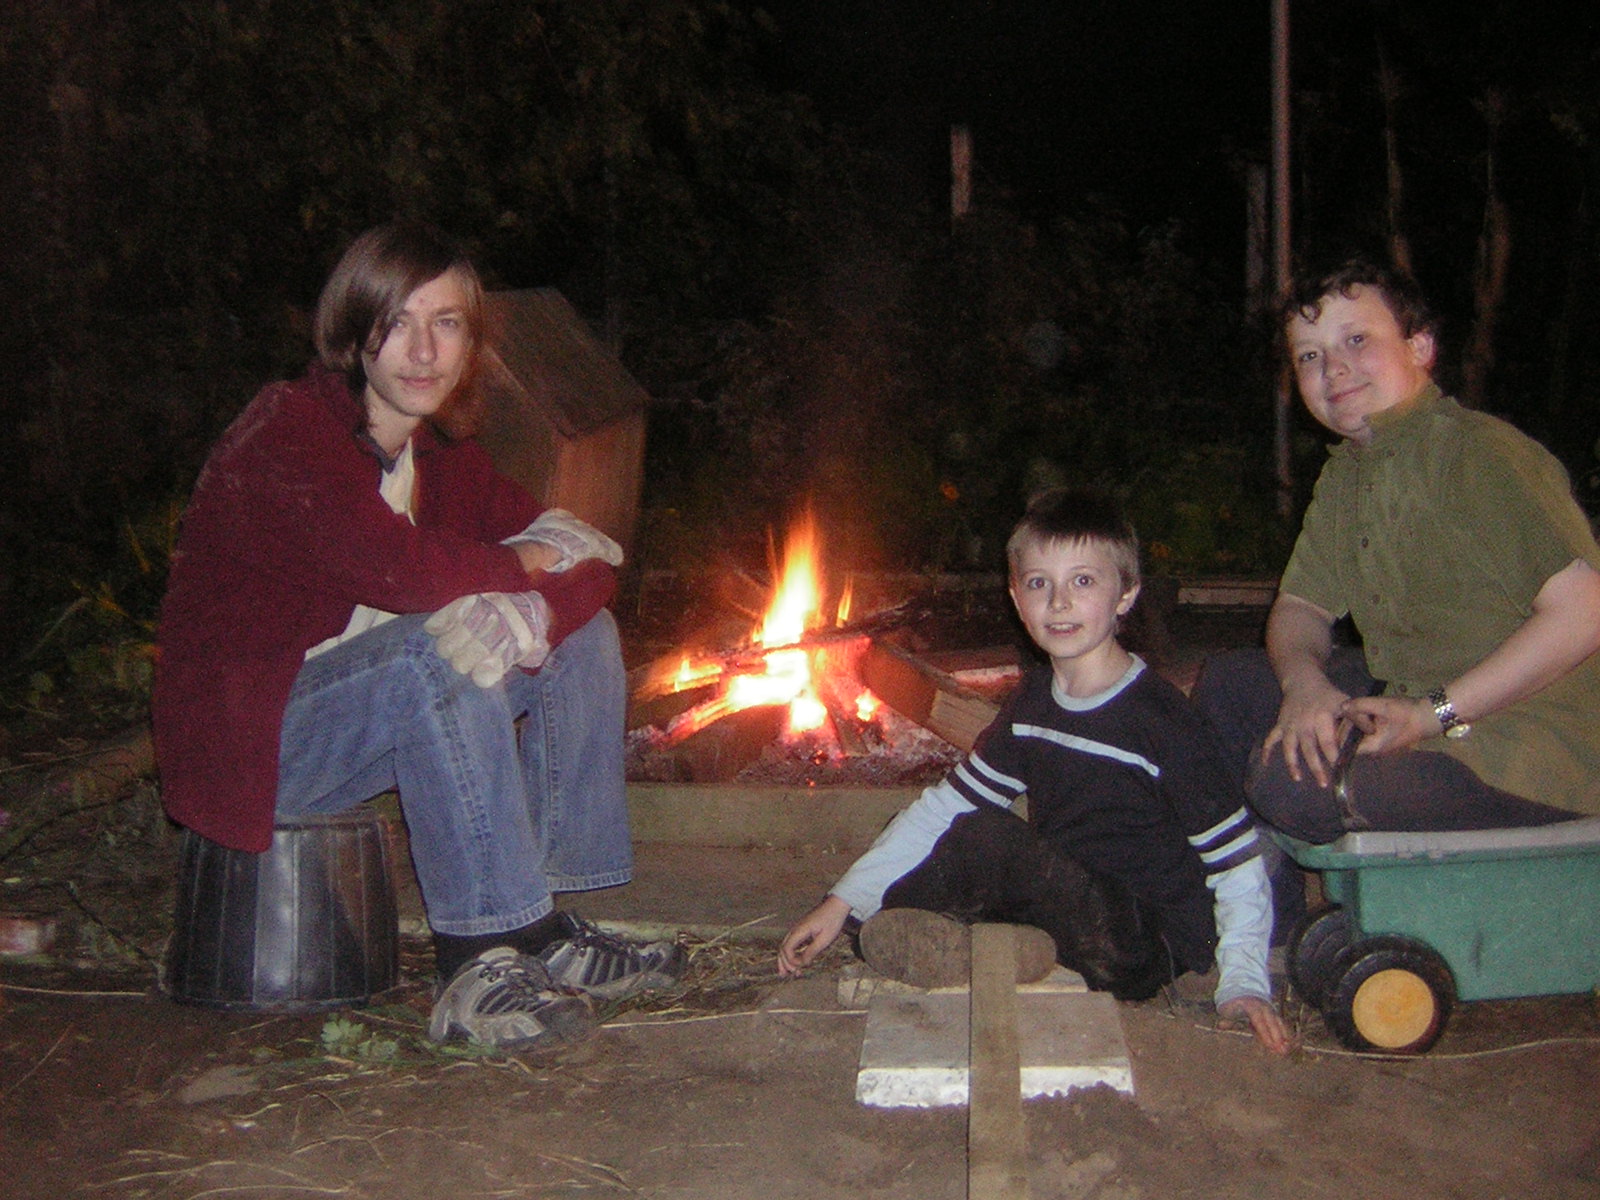
After the ritual burning, we cleared the area, relocated and levelled the paving slabs, then laid new joists on them, finally I aligned the joists carefully before we placed the floor panels on them.
Now the fun bit - putting up wall panels that are 10 feet long, 8 or 9 feet high, and weigh between 50-70kg each, in a force 4-5 breeze. Suffice to say that we nearly lost the whole lot over next door at one point - Robert managed to stop it from leaving the garden, I then grabbed a nearby lump of 4x2 which I used as a lever to put the structure back on it’s base and Martin fitted a couple of screws into the floor which helped a lot- phew!
Having secured the walls to each other and the floor, we fitted the central roof rafter and propped the structure using some left over timbers from the old shed, then retired for the evening - worn out.
Day 2
Pleased to see the structure still where we left it, we tackled the task of putting the roof panels on, from inside the building with one step ladder, one exterior ladder and lots of cunning.
Luckily the panels fitted nicely through the gap between the walls and the central rafter, and we were able to push them up, then slide them back into position. Joseph then got to work with the drill and fitted the securing coach screws before the wind picked up again.
Our final construction task of the day was to put down the roofing felt which Thomas and Joseph did very nicely with just a bit of guidance from Dad
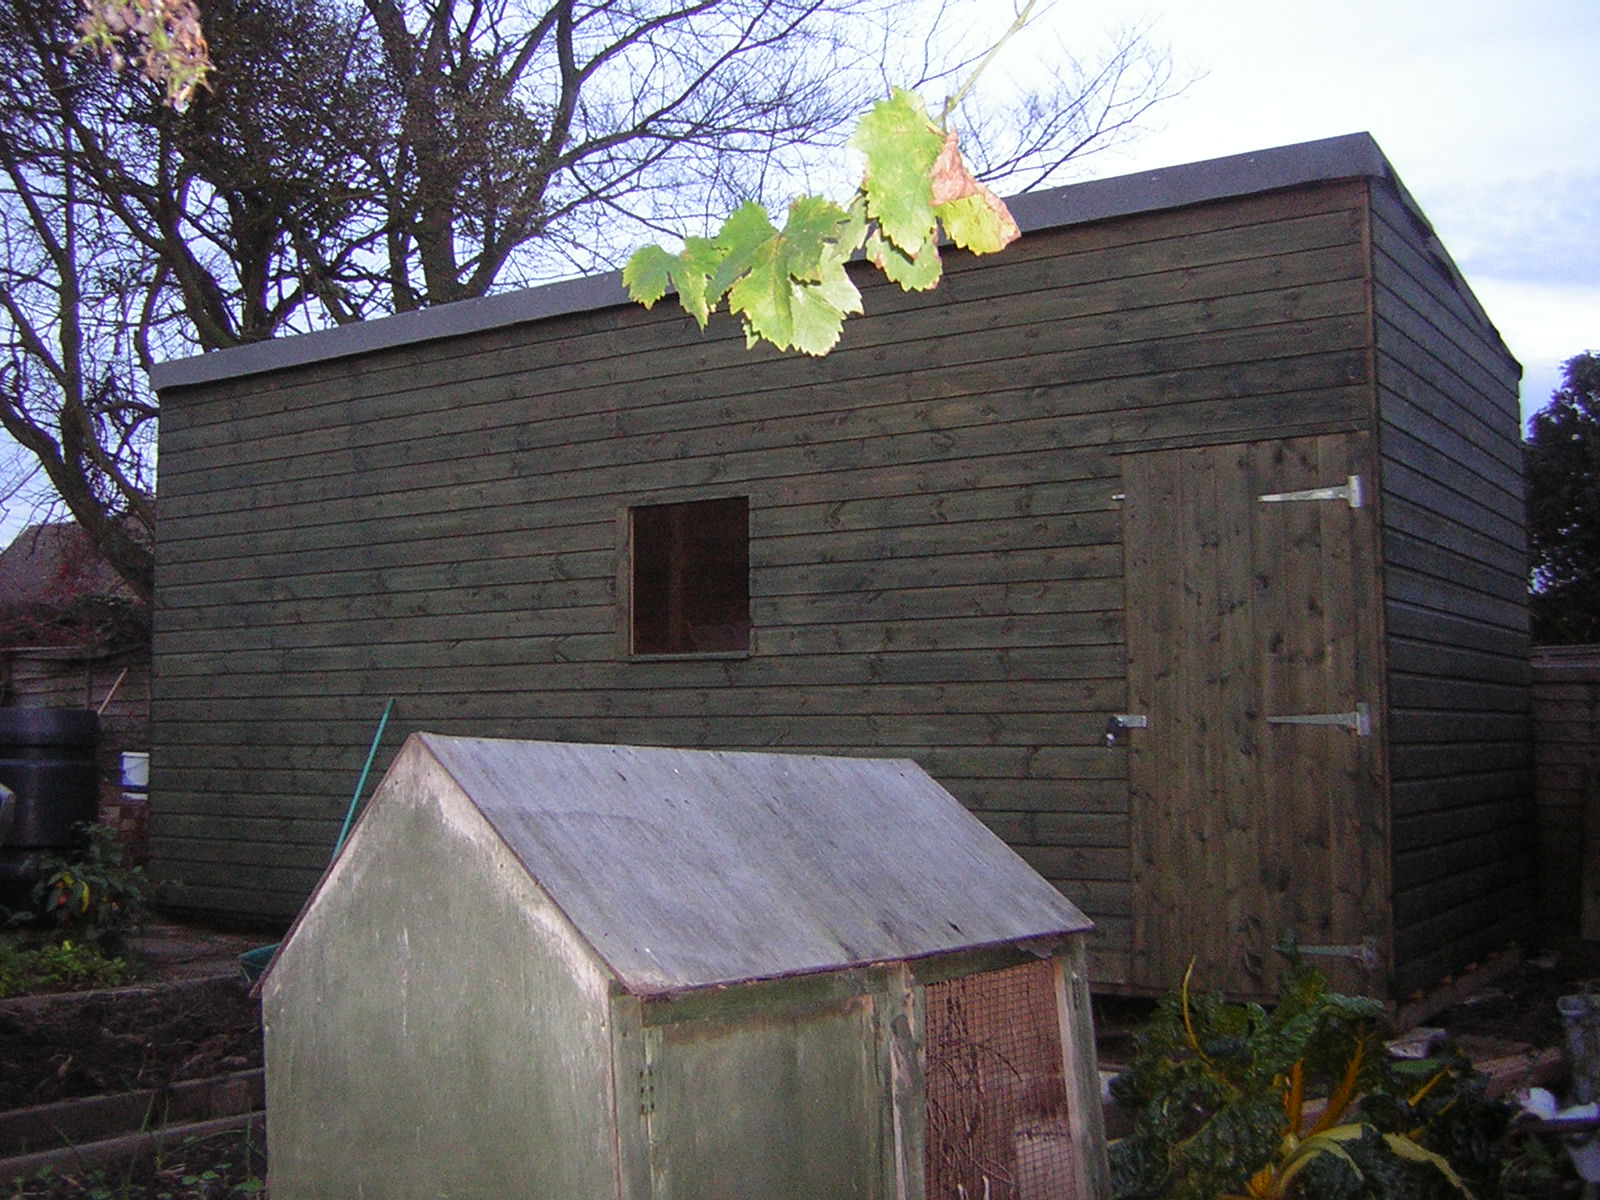
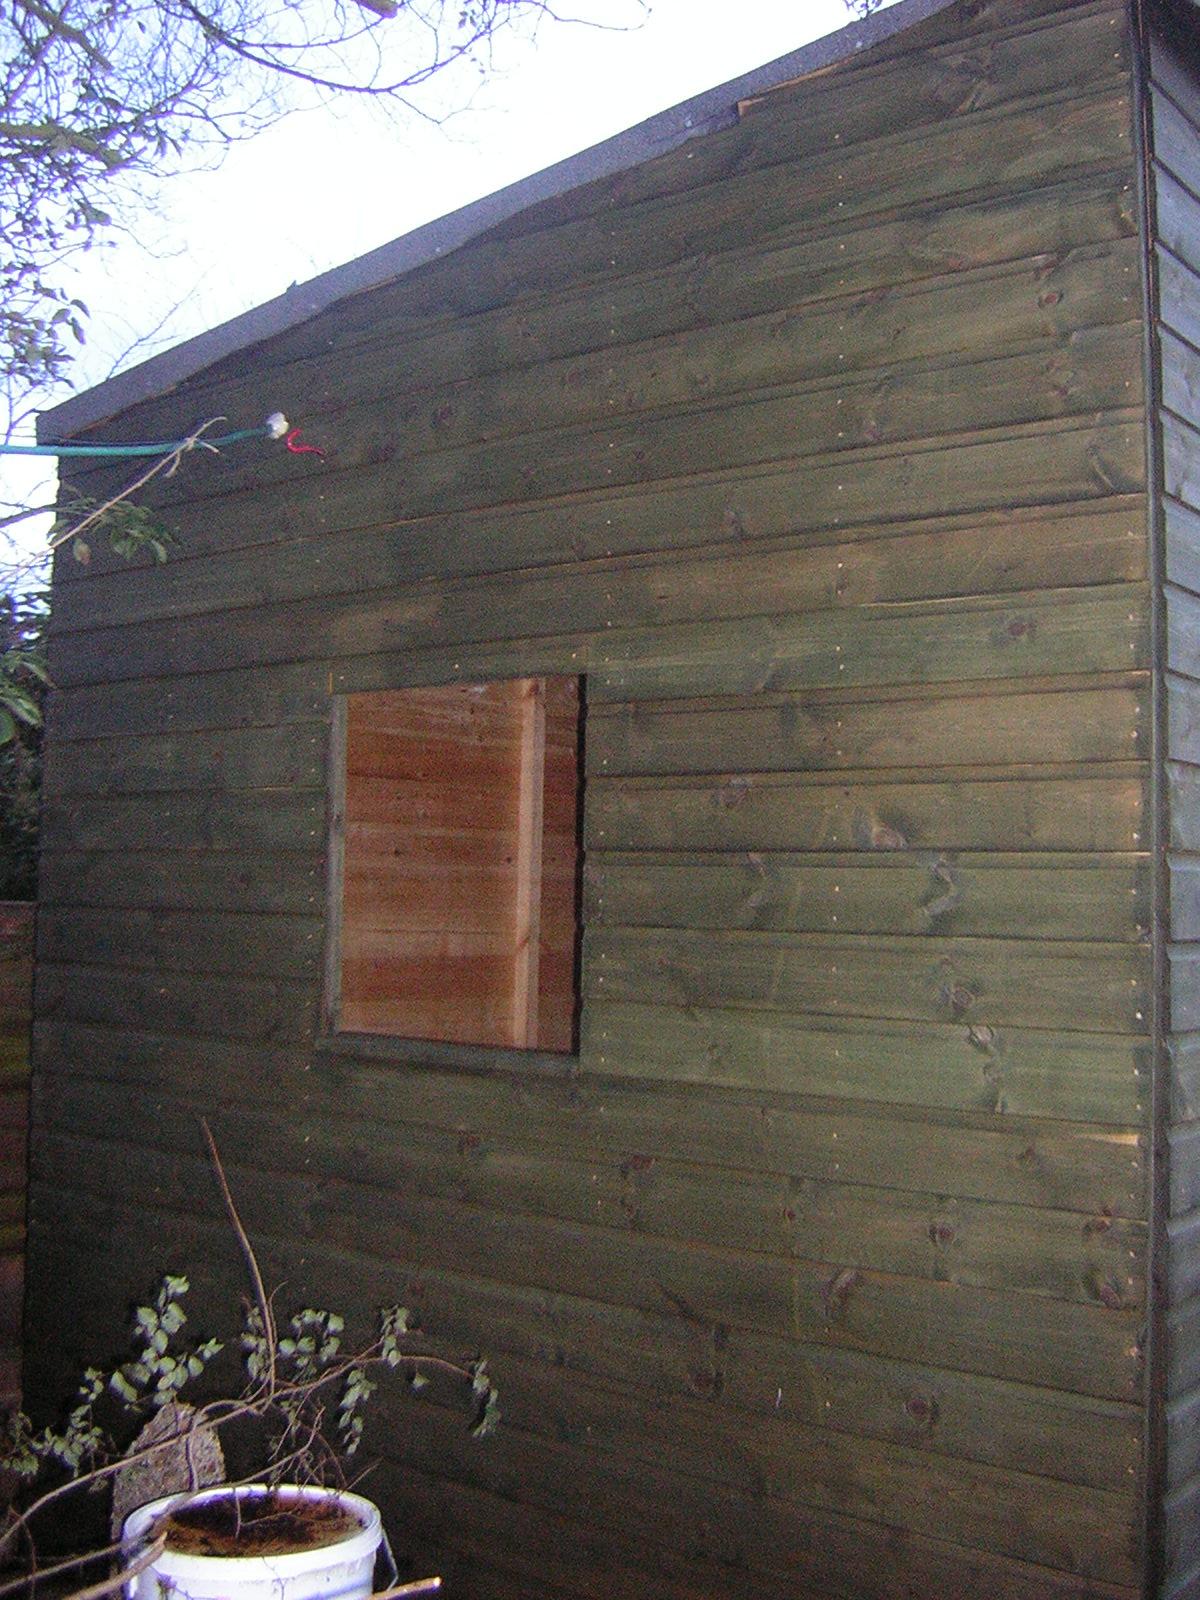
Angela then set to work with the woodstain, turning our building a lovely shade of green. The result? See for yourself!
..and now..
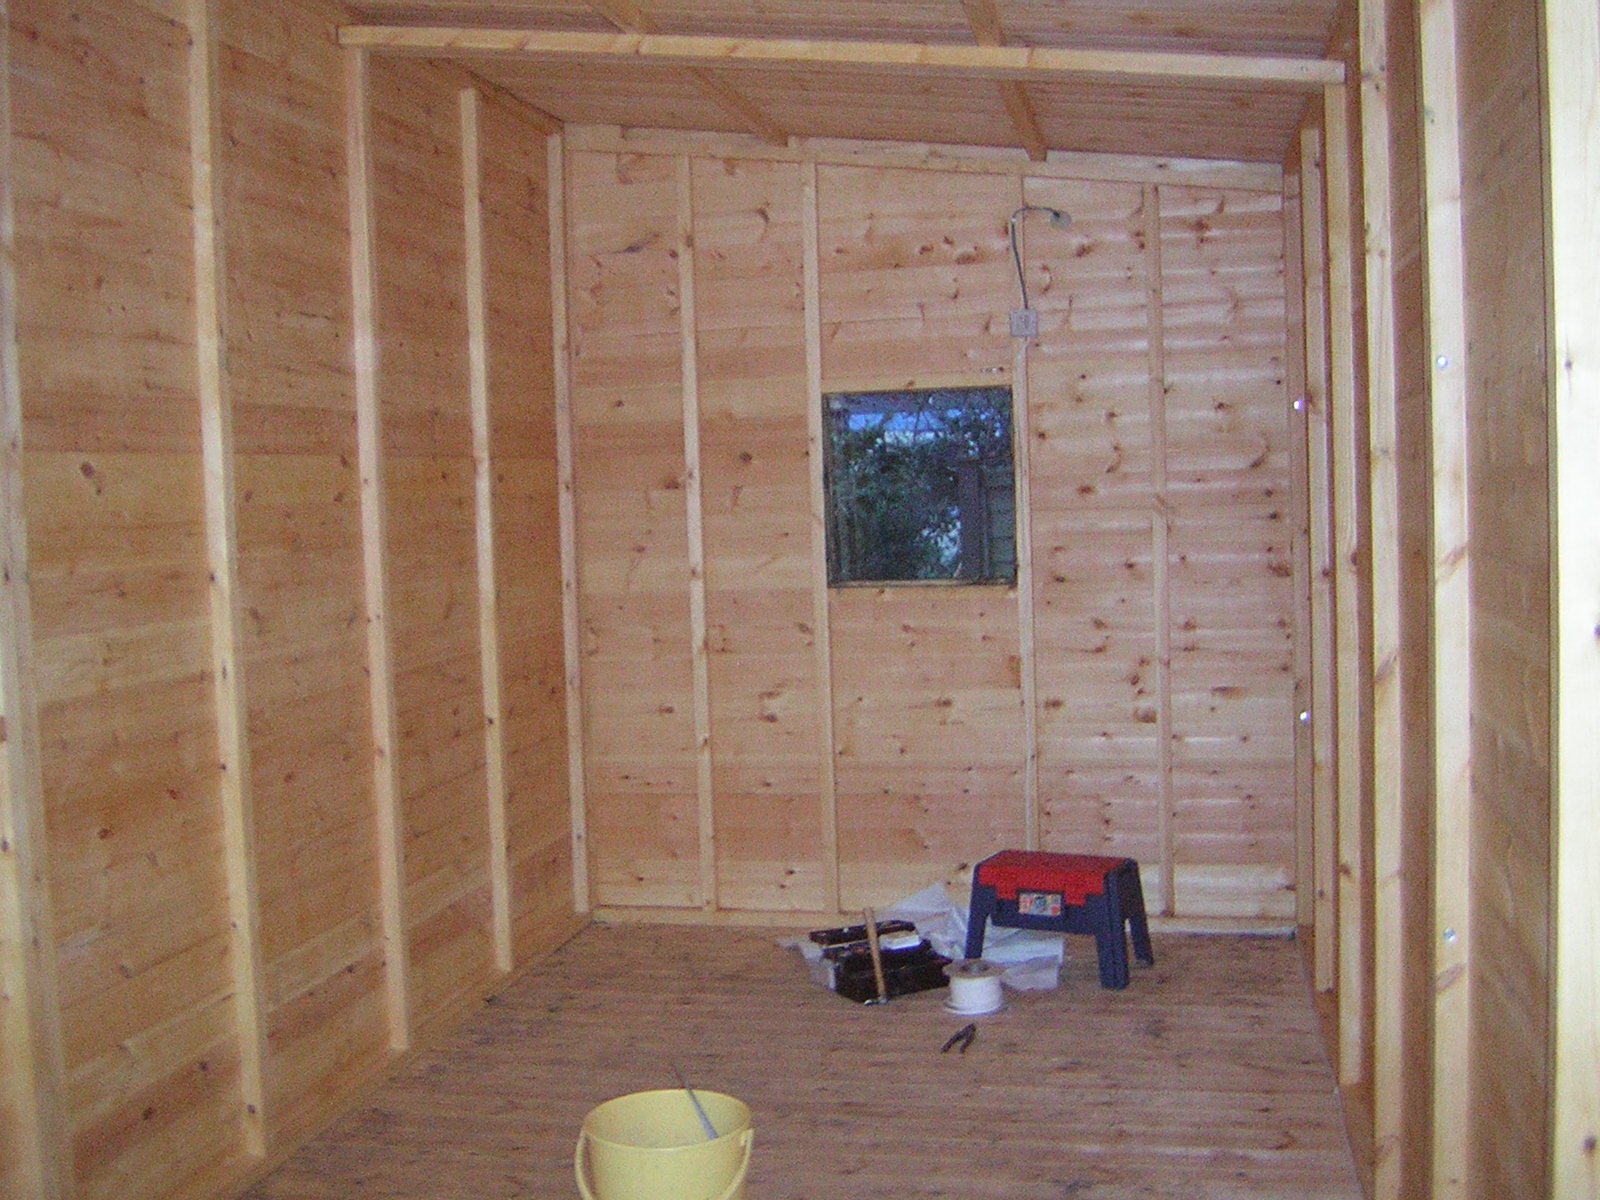
Detailed design is now starting on the internal room, which is probably going to involve a diagonal partition wall (to reduce reflections and gain a little extra space), paving slabs and polystyrene underfloor insulation, ventilation ducts in (floor level) and out (ceiling), more rockwool, acoustic curtains and plasterboarding.. to say nothing of the timber frame to support all this gubbins. I think I’ll enjoy this bit!
Interior construction follows… more »